Your router isn’t broken. It’s just outnumbered. The average home in 2026 has three times the connected devices it had a decade ago, plus walls, floors, and a microwave oven all fighting the same 2.4GHz band — and a single router, no matter how expensive, was never built to cover more than one broadcast point. A mesh Wi-Fi system fixes that by spreading multiple nodes through your home so every room talks to the nearest one instead of shouting across the house at a router in the basement.
This guide skips the marketing and gets straight to what actually matters: how many nodes you need, where to put them, whether to wire the backhaul, and which mistakes quietly cut your speed in half before you’ve even noticed.
Why One Router Stopped Being Enough
Range and bandwidth are a trade-off. A router boosts its signal to reach the far bedroom, and in doing so it floods every device in between with a stronger, more congested signal than they need. Add a second floor, a few interior walls, and a metal appliance or two, and you get the classic pattern: full bars in the living room, one bar in the office, and a dead zone in the backyard where the smart camera keeps dropping.
Mesh solves this differently. Instead of one loud broadcaster, you place several quieter nodes throughout the house, each covering its own zone and handing devices off to the next node as you walk around — the same way cell towers work, just shrunk down to a household scale.
Mesh vs. Extenders vs. a Bigger Router — What’s Actually Different
A Wi-Fi extender just repeats your existing signal from wherever you plug it in — it’s cheap, but it usually halves your speed on the extended network and creates a second, separate SSID that your phone has to manually switch to. A single more powerful router pushes further, but it’s still one broadcast point; it just makes the dead zone smaller, not gone. Mesh systems use one unified SSID across every node and hand off devices automatically, with each node acting as a full access point rather than a weaker echo of the last one.
If your priority is squeezing more range out of Wi-Fi 7 hardware rather than adding coverage, our breakdown of the best Wi-Fi 7 routers is worth reading before you commit to mesh — some single-router Wi-Fi 7 setups now rival 2-node mesh kits for mid-size homes.
Step 1 — Map Your Dead Zones Before You Buy Anything
Walk your home with your phone’s Wi-Fi signal indicator open (or a free app like Wi-Fi Analyzer) and note where the signal drops below two bars. Do this at the times you actually use those rooms — a dead zone that only shows up when the microwave runs is a 2.4GHz interference problem, not a coverage problem, and no amount of extra nodes fixes that on its own.
Sketch a rough floor plan and mark where the router currently sits, where the dead zones are, and where your highest-traffic devices live (TV, home office, gaming console). This ten-minute exercise decides your entire node count and placement — skipping it is the single biggest reason people end up with two nodes standing next to each other doing nothing.
Step 2 — Node Count and Placement (the part everyone gets wrong)
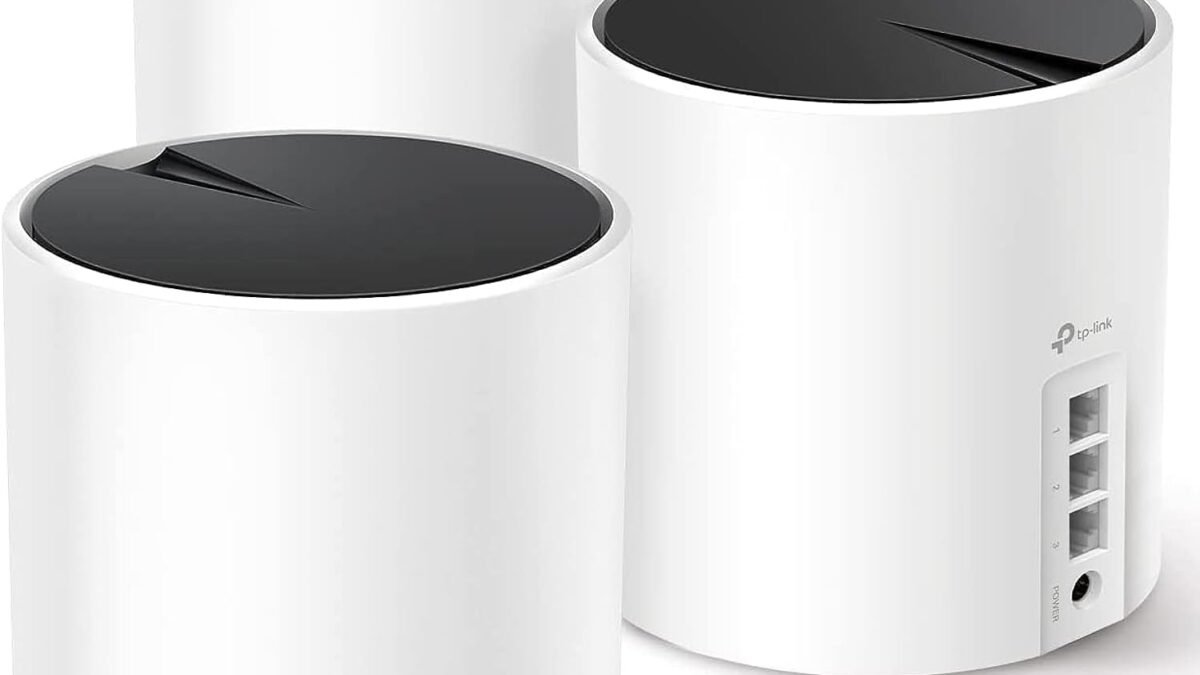
A 3-node kit like the TP-Link Deco X55 covers up to 6,500 square feet when nodes are spaced correctly — but “correctly” means each node sits roughly halfway between the previous node and the dead zone it’s meant to fix, not clustered near the living room where the signal was already fine. The most common mistake in returns and complaints for mesh systems isn’t a defective unit — it’s placing the second node “just to be safe” a few feet from the first one, which wastes range instead of extending it.
Rule of thumb: for a typical single-floor home under 2,000 sq ft, two nodes are usually enough. Multi-floor homes almost always need one node per floor at minimum, positioned near a stairwell or central hallway rather than tucked in a corner bedroom.
Step 3 — Wired vs. Wireless Backhaul
Backhaul is the connection between your mesh nodes — and it’s the single biggest factor in how much speed you actually keep. Wireless backhaul (the default, no cables) works fine for most homes but eats into your available bandwidth, since each node has to relay both your devices’ traffic and the signal to the next node over the same radio. In homes with thick interior walls or more than two floors, this can cut effective throughput by close to half.
If you already have an Ethernet jack near a second node’s ideal spot — even one run through a closet or along a baseboard — use it. Ethernet backhaul removes that bottleneck entirely and is why kits like the Deco X55, which put a Gigabit port on every node rather than just the primary one, are worth the small premium over cheaper single-port alternatives.
Step 4 — Initial Setup and App Pairing
Nearly every 2026 mesh system, including both the Deco and eero lines, is app-first: no browser-based admin panel, no default IP address to memorize. You plug in the primary node, scan a QR code with the manufacturer’s app, and it walks you through connecting to your modem and adding satellite nodes one at a time. Keep every node within your existing router’s range for the first pairing step, even if you plan to move it further away afterward — pairing failures almost always come from placing the new node out of range too early, not from a hardware fault.
Once the primary node is online, add satellites one at a time rather than all at once — the app confirms each one’s signal strength before moving to the next, which is your real-time feedback on whether your Step 1 floor plan was accurate.
Step 5 — Band Steering, DNS, and Guest Networks
Modern mesh systems merge your 2.4GHz and 5GHz (or 6GHz on Wi-Fi 6E/7 kits) bands into a single SSID and automatically steer each device to the best one — you don’t need to manage this manually, and splitting the bands yourself usually causes more problems than it solves. What is worth configuring by hand: a separate guest network for visitors and, ideally, a second isolated network for smart home devices (cameras, plugs, bulbs), since IoT devices are disproportionately the target of home network intrusions and shouldn’t share a network with your laptop or phone.
Set your DNS to a privacy-respecting provider (Cloudflare’s 1.1.1.1 or Quad9) in the app’s advanced settings if ad-heavy browsing or IoT chattiness is a concern — most mesh apps bury this option under “Advanced” or “Internet,” but it takes under a minute to change.
Pro Tip: The Placement Mistake That Kills Half Your Speed
Here’s the one almost nobody checks: node height and obstruction. A mesh node placed on the floor behind a TV stand, inside a cabinet, or on a low shelf loses signal strength that has nothing to do with distance — it’s losing it to the furniture and floor absorbing the signal before it even leaves the room. Nodes perform best at roughly chest-to-head height, on an open shelf or mounted on a wall, with nothing metal (routers, appliances, mirrors) directly in front of them. Moving a node from a low cabinet to an open shelf three feet away can recover more speed than adding an entire extra node.
Which Mesh System Should You Buy
Disclosure: DecodeGear may earn a commission if you buy through the Amazon link below, at no extra cost to you.
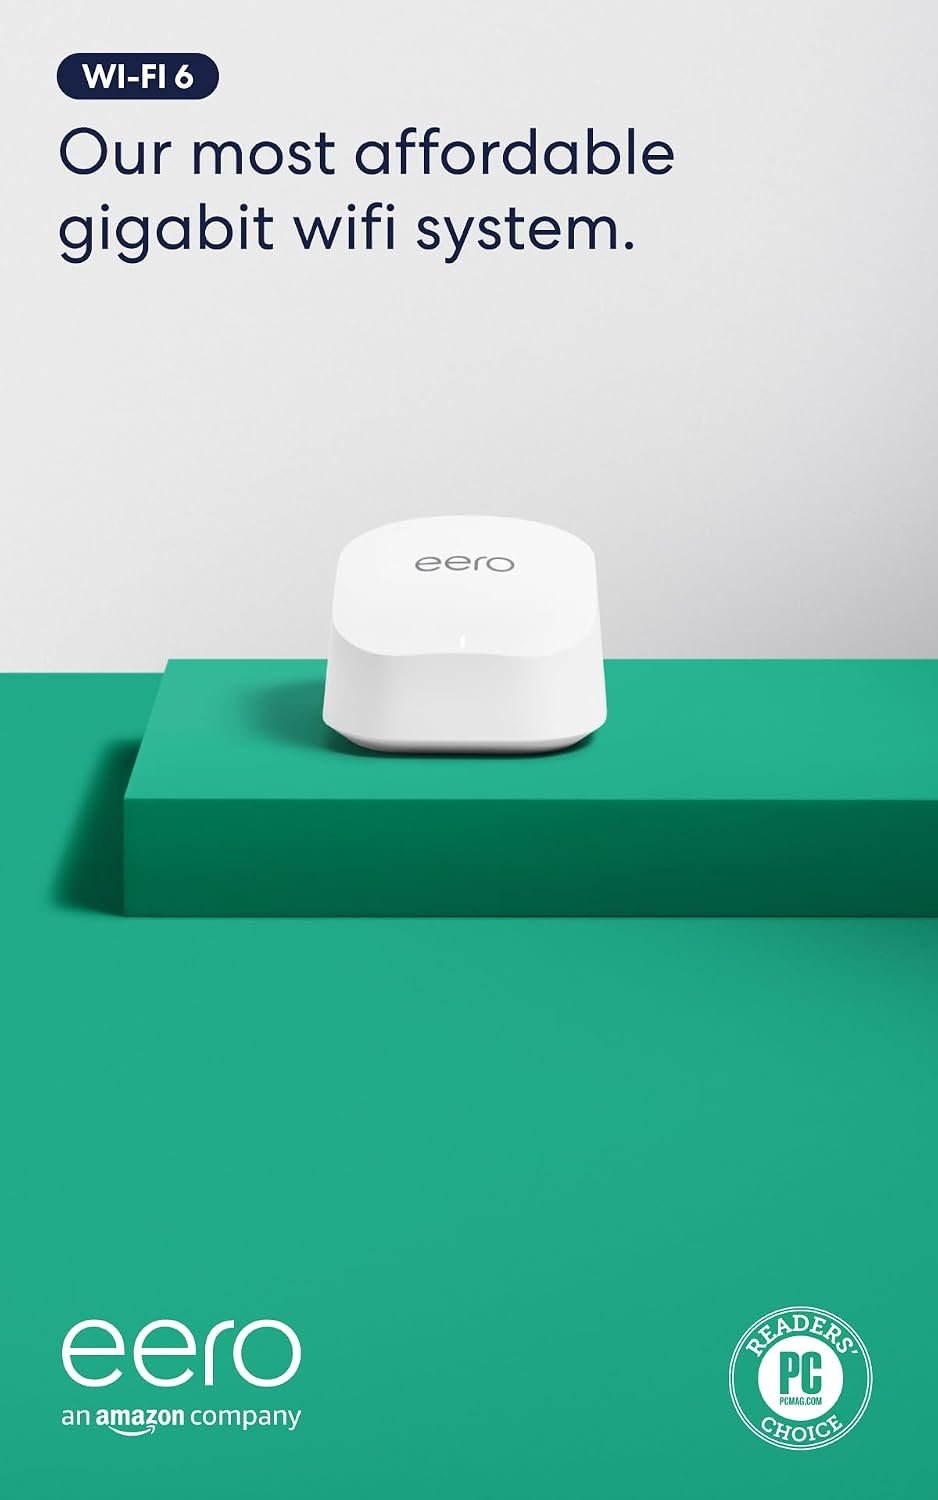
For most households, the TP-Link Deco X55 3-pack ($149.98) is the pick: WiFi 6 speeds, Gigabit ports on every node for full backhaul flexibility, and enough coverage (6,500 sq ft) for the large majority of houses, at a price that undercuts most 2-node premium kits. If you’re already deep in the Alexa ecosystem or want Zigbee smart-home hub support built into the router itself, the Amazon eero 6+ is the more integrated option, though you’ll pay more per node for similar coverage and some advanced features sit behind an eero+ subscription.
Our Pick: TP-Link Deco X55 (3-Pack)
Best coverage-per-dollar for whole-home mesh — WiFi 6, Ethernet backhaul on every node, 6,500 sq ft covered.
Price: ~$149.98
Still on the fence about whether you even need mesh? Our explainer on why Wi-Fi slows down at night covers the interference-only cases where a mesh upgrade won’t actually help — worth ruling out first.
Frequently Asked Questions
Do I need to buy nodes from the same brand?
Yes — mesh nodes only mesh with other nodes from the same manufacturer and product line. You can’t mix a TP-Link Deco node with an eero node in the same mesh.
Will mesh fix slow internet, not just weak Wi-Fi?
No. Mesh only redistributes the speed your internet plan already delivers — if your connection itself is capped at 100Mbps, no mesh system raises that ceiling. Check your plan speed first if the complaint is “slow,” not “spotty.”
Can I replace my ISP’s router entirely with mesh?
In most cases yes — you set the mesh primary node to replace your router (or run it in “bridge/access point” mode if your ISP requires their gateway to stay active for phone/TV service). Check your provider’s requirements before buying.
How often should I reboot a mesh system?
Far less than a traditional router — most mesh apps push firmware updates automatically and self-manage memory. Our Wi-Fi speed guide covers the signs that actually call for a reboot versus a placement fix.
Leave a Reply