How to Set Up a NAS at Home: Your Personal Cloud in 2026 (Beginner’s Guide)
HOME NETWORK GUIDE
Cloud storage used to feel like a great deal. Then Google One raised prices. iCloud raised prices. Dropbox raised prices. In 2026, 2TB of Google One storage costs $10 a month — $120 a year, every year, forever. If you want to know how to set up a NAS at home and finally stop renting your own data back from a corporation, you’re in the right place. A home NAS (Network Attached Storage) lets you build your own private cloud for a one-time hardware investment that pays for itself in about three years — and then runs essentially for free.
This guide walks you through everything: what a NAS actually is, what hardware to buy, and every step of the setup process, from sliding in the drives to accessing your files from your phone halfway around the world.
What Is a NAS (and Why You Need One in 2026)?
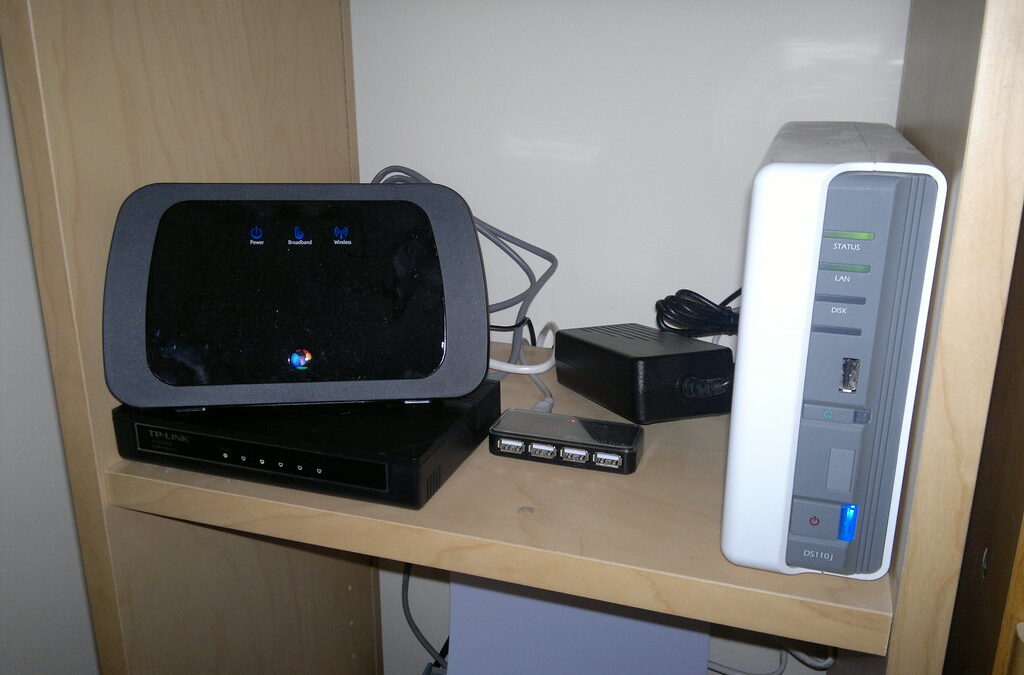
A NAS is a small, quiet box that houses one or more hard drives and connects directly to your home router. Once it’s on your network, every device in your house — laptops, phones, tablets, smart TVs — can access it as if it were a shared network drive. Think of it as a mini-server sitting on a shelf in your home office.
Unlike an external USB drive that’s stuck to one computer, a NAS is always on, always accessible on your local network, and — with a free relay feature — accessible over the internet from anywhere. Unlike cloud storage, you own every byte of data on it. There’s no subscription, no terms of service change that can lock you out, and no company deciding how much storage you’re allowed for what price.
Here’s why 2026 is the right moment to make the switch. A 2-bay NAS loaded with two 4TB drives costs roughly $440 upfront. At $120/year for 2TB of Google One, that hardware pays for itself in under four years — and a NAS with 4TB usable storage gives you twice the space for the same money. After that break-even point, your storage is effectively free.
What You’ll Need to Set Up a NAS at Home
You don’t need to be a network engineer. The hardware below is specifically chosen for beginners, and the software (Synology’s DSM) is the most polished NAS operating system on the market.
1. The NAS Device: Synology DS223
The Synology DS223 (around $280 on Amazon) is the best entry-level NAS for home users in 2026. It’s a 2-bay unit, meaning it holds two hard drives. Its killer feature is the software: Synology DiskStation Manager (DSM) is a browser-based operating system that looks and feels like a desktop app. Setup is wizard-driven, and the ecosystem of apps — from photo management to media streaming — is massive. Drive installation is tool-free: the trays slide out, you clip in the drives, and slide them back. No screwdrivers needed.
2. NAS Hard Drives: Seagate IronWolf 4TB (×2)
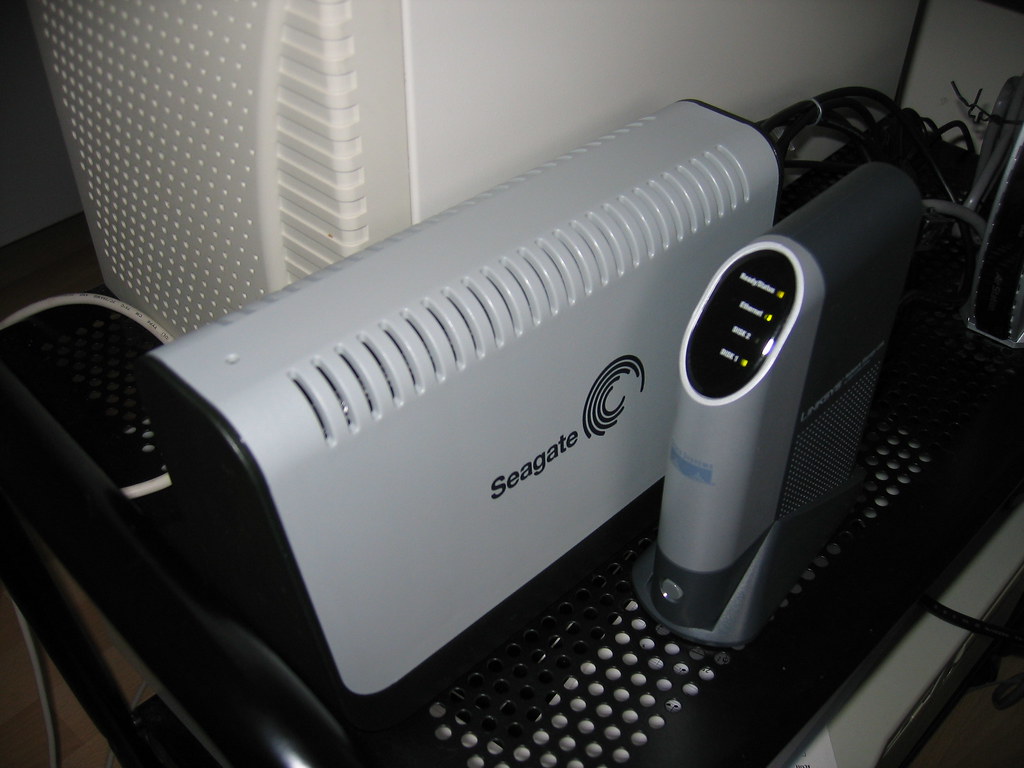
You cannot use regular desktop hard drives in a NAS. Desktop drives are designed to spin up, do a job, and spin back down. A NAS drive runs 24 hours a day, 7 days a week. The Seagate IronWolf 4TB NAS drive (around $80 each) is rated for continuous operation and includes vibration compensation specifically for multi-drive enclosures. Buy two. With RAID enabled, you’ll have 4TB of usable storage with protection against a single drive failure.
3. An Ethernet Cable
A NAS should always be connected to your router with a physical cable, not Wi-Fi. A Gigabit Ethernet connection gives you transfer speeds around 100 MB/s — meaning a 10GB video file moves in about 90 seconds. Any Cat5e or Cat6 cable works. If your router is in a different room, this is also a good moment to make sure your home network is fast enough to handle the load.
4. Your Router
Any home router with an available LAN port works. No special configuration required out of the box.
How to Set Up a NAS at Home: Step-by-Step
Set aside about 30 minutes for the full setup. The longest part is waiting for DSM to install — not doing anything complicated.
Step 1: Install the Hard Drives
On the DS223, press the release tab on each drive tray and slide it out. Clip a Seagate IronWolf drive into each tray — the drive snaps into the bracket without tools. Slide the trays back in until they click. That’s the most “technical” part of this entire process.
Step 2: Connect to Your Router
Run an Ethernet cable from one of the LAN ports on your router to the Ethernet port on the back of the DS223. Plug in the power adapter.
Step 3: Power On and Wait
Press the power button. The front LED will blink steadily as the NAS initializes. This takes about 5 minutes. When the LED turns solid blue and you hear a single beep, the NAS is ready.
Step 4: Find Your NAS
On any computer connected to your home network (wired or Wi-Fi), open a browser and go to find.synology.com. Synology’s web tool automatically discovers your NAS on the local network and shows it. Click “Connect.”
Step 5: Install DiskStation Manager (DSM)
A wizard walks you through the DSM installation. Click “Install Now” and let it run. It takes about 10 minutes and the NAS will reboot once. When it comes back up, you’ll be at the DSM setup screen. Create your admin username and a strong password.
Step 6: Create a Storage Pool and Volume
DSM’s Storage Manager will prompt you to set up your storage. When asked about RAID type, choose SHR (Synology Hybrid RAID). SHR automatically manages your drives and, with two drives, gives you protection against a single drive failure — if one drive dies, your data survives and you replace the failed drive. The wizard handles the rest. Let the storage pool initialize (this runs in the background).
Step 7: Create User Accounts
Go to Control Panel → User & Group and create accounts for anyone in your household who will access the NAS. Set permissions per shared folder as needed.
Step 8: Install Synology Drive
Open the Package Center (think of it as an app store built into DSM). Search for “Synology Drive Server” and install it. This turns your NAS into a Google Drive replacement — with automatic sync, version history, and shared folders. Then download the Synology Drive client app on your PC, Mac, iPhone, or Android device to sync files automatically.
Step 9: Set Up QuickConnect for Remote Access
In DSM, go to Control Panel → QuickConnect and enable it. You create a free QuickConnect ID (like yourname.quickconnect.to). Synology’s servers act as a secure relay — you can now access your NAS from any device, anywhere in the world, without touching port forwarding or firewall settings. It’s the feature that makes a NAS genuinely practical for non-technical users.
What to Do After Setup
Once your NAS is running, three additions transform it from a network drive into a full home media and backup hub.
Set Up Automatic Backups
A NAS is not a backup — it’s primary storage. Hard drives fail. Install Hyper Backup from the Package Center and configure it to back up your NAS data to an external USB drive plugged into the NAS, or to a cloud destination like Backblaze B2 (very cheap). This follows the 3-2-1 backup strategy: three copies of your data, on two different media, with one copy offsite. Your data is genuinely safe only when this step is done.
Install DS Photo for Your Photo Library
Install DS Photo from the Package Center, then install the companion app on your phone. Configure it to automatically back up every photo you take to your NAS. This is a direct, private replacement for Google Photos or iCloud Photo Library — with no storage limits and no subscription.
Stream Your Media with Plex
Install Plex Media Server from the Package Center. Point it at a folder on your NAS where you store movies and TV shows. Plex organizes your library with artwork and metadata and streams it to any TV, phone, tablet, or browser — at home or remotely. It’s one of the most popular NAS use cases for a reason.
Is a NAS Worth It? The Real Cost Breakdown
Let’s be direct. The upfront cost is real: roughly $280 for the Synology DS223 plus about $160 for two Seagate IronWolf 4TB drives, totaling around $440. Add a $10 Ethernet cable and you’re at $450.
Compare that to cloud storage alternatives for the same 4TB capacity. Google One’s 2TB plan is $120/year — and to get 4TB you’d need the 5TB plan at $250/year. At $250/year, your $450 NAS breaks even in under two years. At the 2TB Google One rate ($120/year), break-even is about three and a half years. After that, the NAS costs you only electricity — roughly $15–20 per year for a 2-bay Synology at typical US rates.
Beyond the math, there’s a qualitative argument: you control your data. It doesn’t disappear if a company shuts down a service, raises prices again, or decides to scan your files. For families with irreplaceable photos, freelancers with client files, or anyone who’s been burned by a cloud price hike, that control has real value.
The NAS isn’t for everyone. If you need to access huge files from multiple locations simultaneously with zero setup friction, cloud still wins on convenience. But for home users who want reliable, private, affordable storage with room to grow — a NAS is one of the best tech purchases you can make in 2026.
Your Personal Cloud Starts Tonight
Setting up a NAS at home used to require networking knowledge. Synology’s DSM has eliminated that barrier. The hardware installs without tools, the software guides you through every step, and QuickConnect means remote access works without any router configuration. Within an hour of opening the box, you can have a private cloud that’s faster than most cloud services on your local network, accessible from anywhere, and costs nothing to run month to month.
Order the DS223 and two IronWolf drives, follow the steps in this guide, and by this time tomorrow you’ll have a personal cloud server that you actually own.
Deixe um comentário