How to Upgrade Your Laptop RAM and SSD in 2026 (Step-by-Step)
LAPTOP UPGRADE GUIDE
Your laptop feels sluggish, apps take forever to open, and multitasking is a nightmare. Before you spend $800 on a new machine, consider this: a targeted hardware upgrade can transform your existing laptop for under $200 — and take less than an hour. This guide walks you through exactly how to upgrade laptop RAM and SSD, including the critical first step most tutorials skip: figuring out whether your laptop can even be upgraded in the first place.
In 2026, the answer isn’t always yes. The rise of thin-and-light designs has led manufacturers like Apple, Dell, and Lenovo to solder RAM directly onto the motherboard — which means no upgrade path, ever. But SSDs are almost always replaceable. Knowing the difference before you buy anything will save you time, money, and frustration.
Step 1: Check If Your Laptop Is Actually Upgradeable
This is the most important step, and it takes five minutes. Skip it and you might be stuck with RAM you can’t install.
RAM Upgradeability
The key question is whether your RAM is soldered to the board or seated in removable SO-DIMM slots. Here’s how to find out:
- Check the manufacturer’s spec page. Search for your exact laptop model on the manufacturer’s website. Look for memory type. If you see “LPDDR5X” or “LPDDR4X” — note the “LP” (Low Power) prefix — the RAM is almost certainly soldered on. If you see “DDR4 SO-DIMM” or “DDR5 SO-DIMM,” you’re in luck.
- Use Crucial’s System Scanner. Visit crucial.com/store/advisor and run the free tool. It identifies your system and tells you exactly what’s compatible — or whether RAM is upgradeable at all.
- Search YouTube. Type “[your laptop model] RAM upgrade” or “[your laptop model] teardown.” If the top results show people swapping SO-DIMMs, you’re good. If every video is about an SSD-only upgrade or says “RAM is soldered,” that’s your answer.
Bottom line: LPDDR = soldered = not upgradeable. SO-DIMM DDR4/DDR5 = upgradeable. Don’t assume — verify.
SSD Upgradeability
Better news here: the vast majority of laptops sold in the last four years have a user-accessible M.2 NVMe slot. Exceptions include some ultra-thin MacBooks (M-series Macs have unified memory architecture and soldered storage) and a handful of budget Chromebooks.
Again, search YouTube for “[your laptop model] SSD upgrade” — teardown videos will show you exactly where the M.2 slot is and how hard it is to reach. Some laptops require removing the battery connector first; most don’t.
Tools You’ll Need
- Phillips head screwdriver — typically PH0 or PH00 for laptop bottom panels
- Plastic spudger or pry tool (a guitar pick works in a pinch)
- Anti-static wrist strap (optional but smart — a $6 purchase that protects a $1,000 machine)
- Small magnetic tray or piece of tape to hold screws
Step 2: Choose the Right Upgrade Parts
Once you’ve confirmed upgradeability, picking the right hardware matters more than people think. Install the wrong RAM speed and your laptop may not boot — or will boot but downclock everything.
Choosing RAM
Match your existing RAM speed. If you currently have DDR4-3200, buy DDR4-3200 (or higher — most controllers downclock to match the lower module). If you have DDR5-4800, look for DDR5-5600 kits. The bigger decision is capacity: 16GB is fine for general use, but if you’re running Chrome with 20 tabs, doing video editing, or running VMs, 32GB total is the sweet spot in 2026.
For dual-channel performance, always install RAM in matched pairs — two sticks of 16GB rather than one stick of 32GB. Dual channel gives you a meaningful real-world bandwidth boost (roughly 10–20% faster in memory-intensive tasks). To understand how much RAM you actually need for your specific workload, that breakdown is worth reading before you buy.
Top pick: Crucial 32GB DDR5-5600 SO-DIMM Kit (2×16GB) — ~$70. Crucial is the benchmark for laptop RAM: reliable, widely compatible, and priced fairly.
Choosing an SSD
For 2026 laptops, M.2 NVMe PCIe Gen 4 is the standard slot type. Gen 4 drives offer sequential reads of 5,000–7,000 MB/s — a dramatic improvement over the SATA SSDs common in laptops from 2018–2020. Capacity-wise, 1TB is the minimum worth buying today; 2TB is the smarter long-term move, and SSDs are cheaper than ever right now, making 2TB genuinely affordable.
Top picks:
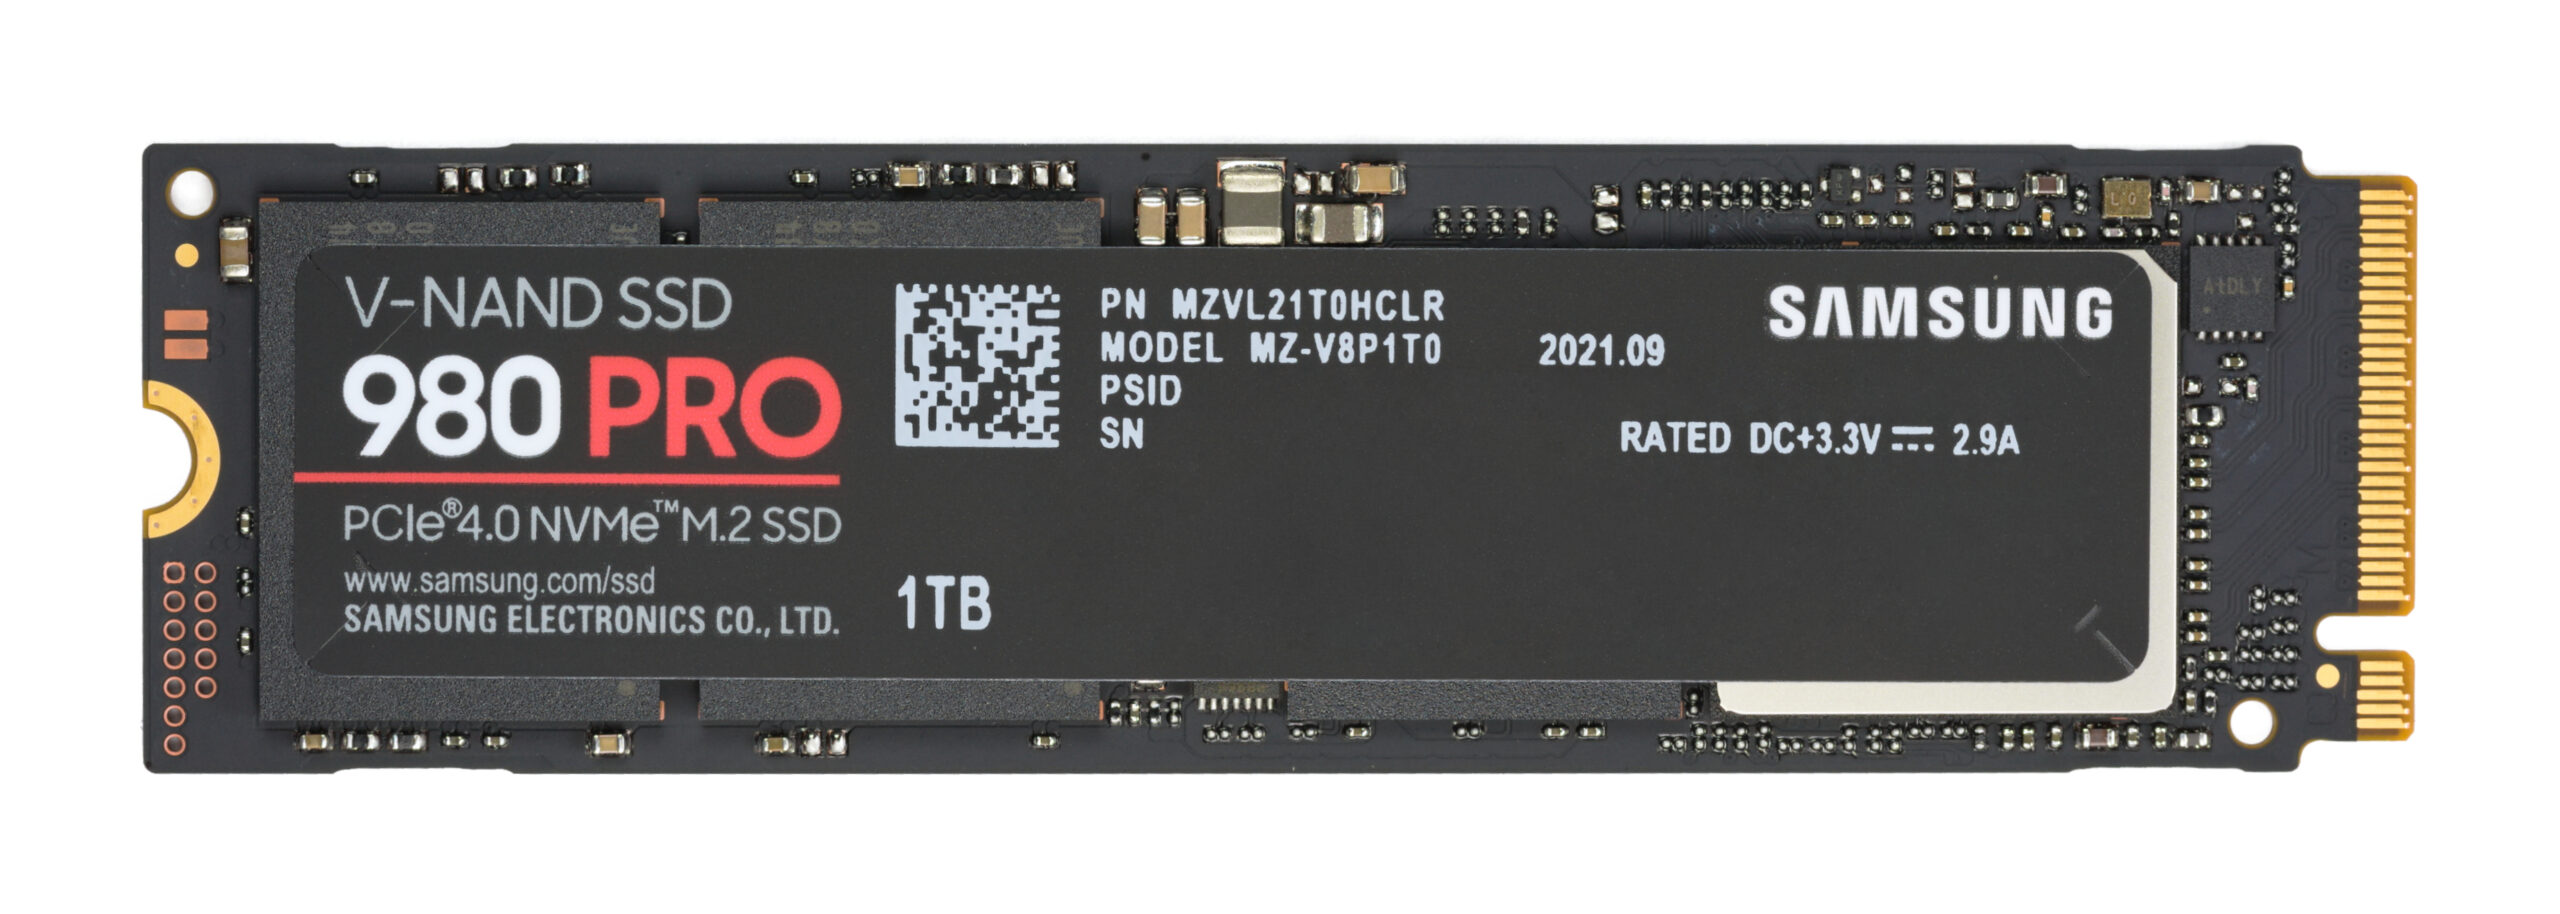
- Samsung 990 Pro 2TB — ~$120: Consistently the best all-around Gen 4 NVMe drive. Excellent sustained write speeds, solid thermals, five-year warranty.
- WD Black SN850X 2TB — ~$110: Slightly cheaper than the Samsung with comparable performance. Great choice if it goes on sale.
Before buying, double-check your M.2 slot size — most laptops use 2280 (22mm wide, 80mm long), but some ultrabooks use 2242. The drive’s product listing will list supported form factors.
Step 3: Back Up Your Data First (Non-Negotiable)
Hardware upgrades rarely go wrong. Data loss does happen when people skip backups and then drop a screw on the wrong component. Do this before touching your laptop.
- Windows: Settings → System → Recovery → Backup. Use OneDrive for documents and photos, or connect an external drive and use Windows Backup.
- Drive cloning: If you want your new SSD to boot exactly like your current one — with all apps, settings, and files — clone your drive using Macrium Reflect Free (Windows). Connect the new SSD via a USB-to-M.2 enclosure, clone your current drive to it, then swap. First boot should be seamless.
- Fresh install alternative: If you’d rather start clean, just back up your files and do a fresh Windows install from a USB drive after swapping the SSD. This is often faster and cleaner, especially on older machines with years of software cruft.
Step 4: Install the RAM Upgrade
With your data backed up and parts in hand, the physical installation is straightforward. Take your time on the first step — prying open a laptop panel is the part most people rush and regret.
- Power off completely. Not sleep, not hibernate — fully powered off. Unplug the charger. Hold the power button for five seconds to discharge any residual capacitor charge.
- Remove the bottom panel screws. Before you start, take a photo of the screw layout. Some laptops use different screw lengths in different positions — mixing them up can strip threads or crack the panel. A grid of tape on a piece of paper works well for keeping screws organized.
- Pry open the panel gently. Insert your spudger into a corner seam and work around the edge. Never force it. Most panels have plastic clips that release with steady, even pressure. Forcing causes cracks that can’t be repaired.
- Locate the SO-DIMM slots. They’re usually under a small metal shield near the center or side of the board. The shield is typically held by a single screw or snaps off.
- Remove existing RAM (if upgrading, not adding). Press the tabs on both sides of the slot outward simultaneously. The module will pop up at a 45-degree angle. Slide it out.
- Insert the new module. Align the notch in the module with the notch in the slot. Insert at 45 degrees, then press down firmly until both tabs click into place. It takes more force than you expect — if it’s not clicking, double-check alignment.
- Install the second stick in the matching slot. Dual channel requires both slots populated with matched modules. Consult your laptop’s service manual if you’re unsure which slots are paired.
Step 5: Install the SSD Upgrade
SSD installation is actually simpler than RAM because there’s only one slot and one screw. The main variable is access — some laptops require removing the battery connector before swapping storage; others let you get straight to it.
- Find the M.2 slot. It’s usually a horizontal slot on the motherboard. On some laptops, a small thermal pad or sticker covers the installed drive — peel it back carefully and save it to reuse on the new drive (it helps with thermals).
- Disconnect the battery connector if required. On some laptops, the battery connector is positioned directly above the M.2 slot. Unplug it by pulling straight up — don’t pry sideways.
- Remove the single M.2 retaining screw. It’s a tiny screw at the far end of the drive. Keep it somewhere it won’t roll away.
- Pull the SSD out at a shallow angle (same ~30-degree angle at which it’s seated). Don’t wiggle it side to side.
- Insert the new SSD at the same shallow angle. Align the key notch, push in firmly until it seats, then press it down flat and replace the retaining screw. Don’t overtighten — just snug.
- Reconnect the battery connector if you disconnected it.
- Replace the bottom panel and re-insert all screws before powering on.
On first boot with a cloned drive, Windows will load normally. With a blank SSD, Windows will ask you to format the new drive or prompt you to install an OS — follow the setup prompts or boot from your Windows USB installer.
What to Expect After the Upgrade
After a RAM upgrade: The difference is most noticeable under load — keeping 15+ browser tabs open without slowdown, switching between applications without lag, running multiple programs simultaneously. If you edit video, work in virtual machines, or use memory-hungry development tools, the improvement can be dramatic. Don’t expect faster single-app performance when only one program is open; RAM doesn’t speed up individual tasks, it prevents slowdowns when you stack tasks.
After an SSD upgrade: Boot times, app launch times, and file transfers will all improve significantly — often 3–5x faster if you’re replacing a mechanical hard drive or an older SATA SSD. This is the highest-impact laptop upgrade you can make, bar none.
Troubleshooting: If your laptop doesn’t POST (power on and display anything) after a RAM upgrade, the most common cause is an improperly seated module. Power off, open the panel again, and re-seat each stick. If it still fails, try one stick at a time to identify if a module is faulty. If the SSD upgrade causes boot issues on a cloned drive, try re-running the clone software — a partial clone will fail to boot.
For more ways to get more speed out of your machine without opening it up, see our guide on other ways to speed up a slow laptop — software optimizations that complement any hardware upgrade.
Learn how to upgrade laptop RAM and SSD in 2026 with this step-by-step guide — including how to check if your laptop is upgradeable, which parts to buy, and exactly how to install them safely.
Deixe um comentário