You buy the TV that looked jaw-dropping in the store, get it home, and somehow it looks duller and less impressive. The TV isn’t defective and you didn’t get a bad unit — the showroom was engineered to make every screen look its best, and your living room isn’t. It happens with $400 budget panels and $2,500 OLEDs alike, and the fix rarely costs a dime. Here’s exactly why it happens, and how to get that showroom “wow” at home.
Store mode is cranked to extremes
Showroom TVs run in “Vivid” or “Dynamic” mode: maximum brightness, oversaturated colors, and aggressive sharpening. Many manufacturers even ship a dedicated “Store” or “Retail Demo” mode that resets those extreme settings every time the TV is switched off, so a well-meaning employee can’t tone it down for long.
That mode is designed to grab your eye from 30 feet away in a bright store, but it looks unnatural and fatiguing in a normal room — skin tones go orange, bright detail gets clipped, and everything is dialed to eleven. It’s the visual equivalent of a food photo styled with glue and paint. It also burns noticeably more electricity, which is why accurate modes double as the energy-saving choice.
The lighting is doing half the work
Stores are blindingly, deliberately bright. Big-box retail floors are typically lit to around 1,000 lux of ambient light, while the average living room in the evening sits closer to 50 lux — a difference of roughly 20 times. That flood of overhead light does two convenient things for the retailer: it makes torch-bright Vivid mode look normal instead of garish, and it washes out weaknesses like mediocre black levels, since your eyes can’t perceive deep blacks in a bright room anyway.
Bring the same TV into a dim room and the equation flips. The searing brightness now looks harsh, and the settings that were tuned for a warehouse read as flat, dark, or just “off” unless you adjust them for your actual environment.
Your eyes were calibrated by the store, too
There’s a biological layer to this. After 20 minutes of staring at a wall of oversaturated screens, your visual system adapts — that level of punch becomes your new baseline. When you get home and see accurate color for the first time, it genuinely looks muted, the same way a room feels dark after you’ve been outside at noon. Give your eyes a few days with accurate settings and the effect reverses: the store look starts to seem cartoonish.
Demo content is cheating
That gorgeous slow-motion nature reel looping in the store is a high-bitrate demo file, often mastered at around 100 Mbps specifically to flatter the panel — vivid colors, perfect contrast, zero visible compression. Real-world content is far less forgiving:
- 4K streaming (Netflix, Disney+, Prime Video) typically runs at around 15–25 Mbps
- HD cable and broadcast can dip below 10 Mbps, with visible artifacts in dark scenes
- 4K Blu-ray is the closest you’ll get to demo quality at up to around 100 Mbps — and it shows
The same TV showing a compressed stream at home simply has worse source material to work with. And if your stream keeps dropping to a soft, blocky picture in the evening, the TV may not even be the problem — congestion is real, and we’ve covered why your Wi-Fi slows down at night and how to fix it.
The picture modes you actually want
Here’s the counterintuitive truth: the modes that look “boring” in the store are the accurate ones. Switch off Vivid and choose “Movie,” “Cinema,” or “Filmmaker Mode.” Filmmaker Mode, launched by the UHD Alliance in 2019 with backing from directors like Christopher Nolan and Martin Scorsese, exists precisely because of this problem: it disables the processing tricks and targets the industry-standard D65 white point, so you see something close to what the colorist saw in the grading suite.
Two things will surprise you at first. The picture looks warmer — almost reddish — because store modes push a cold blue tint that reads as “brighter” to the eye. And it looks softer, because your eyes are used to the oversaturated version. Give it a day and you won’t go back.
Kill the motion smoothing
Most TVs ship with motion smoothing (marketed as “MotionFlow” on Sony, “TruMotion” on LG, “Auto Motion Plus” or “Picture Clarity” on Samsung) turned on. It invents extra frames between the real ones, creating the dreaded “soap opera effect” that makes a $200 million film look like cheap daytime video. Hollywood hates it enough that Tom Cruise recorded a public plea in 2018 asking viewers to turn it off.
Disable it for movies and scripted TV. The one defensible use is live sports, where a mild setting can make fast motion easier to track — many TVs let you save different settings per input or per mode, so you can have both.
Dial back sharpness and check your HDR
High sharpness settings don’t add real detail — they add artificial edges and halos around objects that actually destroy fine texture. On most TVs the neutral point is 0 or 10 depending on the brand’s scale; either way, low is correct for 4K content, which needs no help.
Then confirm you’re actually getting HDR. A surprising number of “washed out” complaints come down to an HDMI port that isn’t set to its full bandwidth mode, a streaming plan that doesn’t include 4K HDR, or an app on an old stick outputting SDR. When real HDR10 or Dolby Vision content reaches a modern panel, that’s where it genuinely earns its price — with highlights and contrast that SDR can’t touch. If you’re still shopping, our guide to the smart TV specs that actually matter in 2026 breaks down which HDR features are worth paying for.
Control your room, feed it good sources
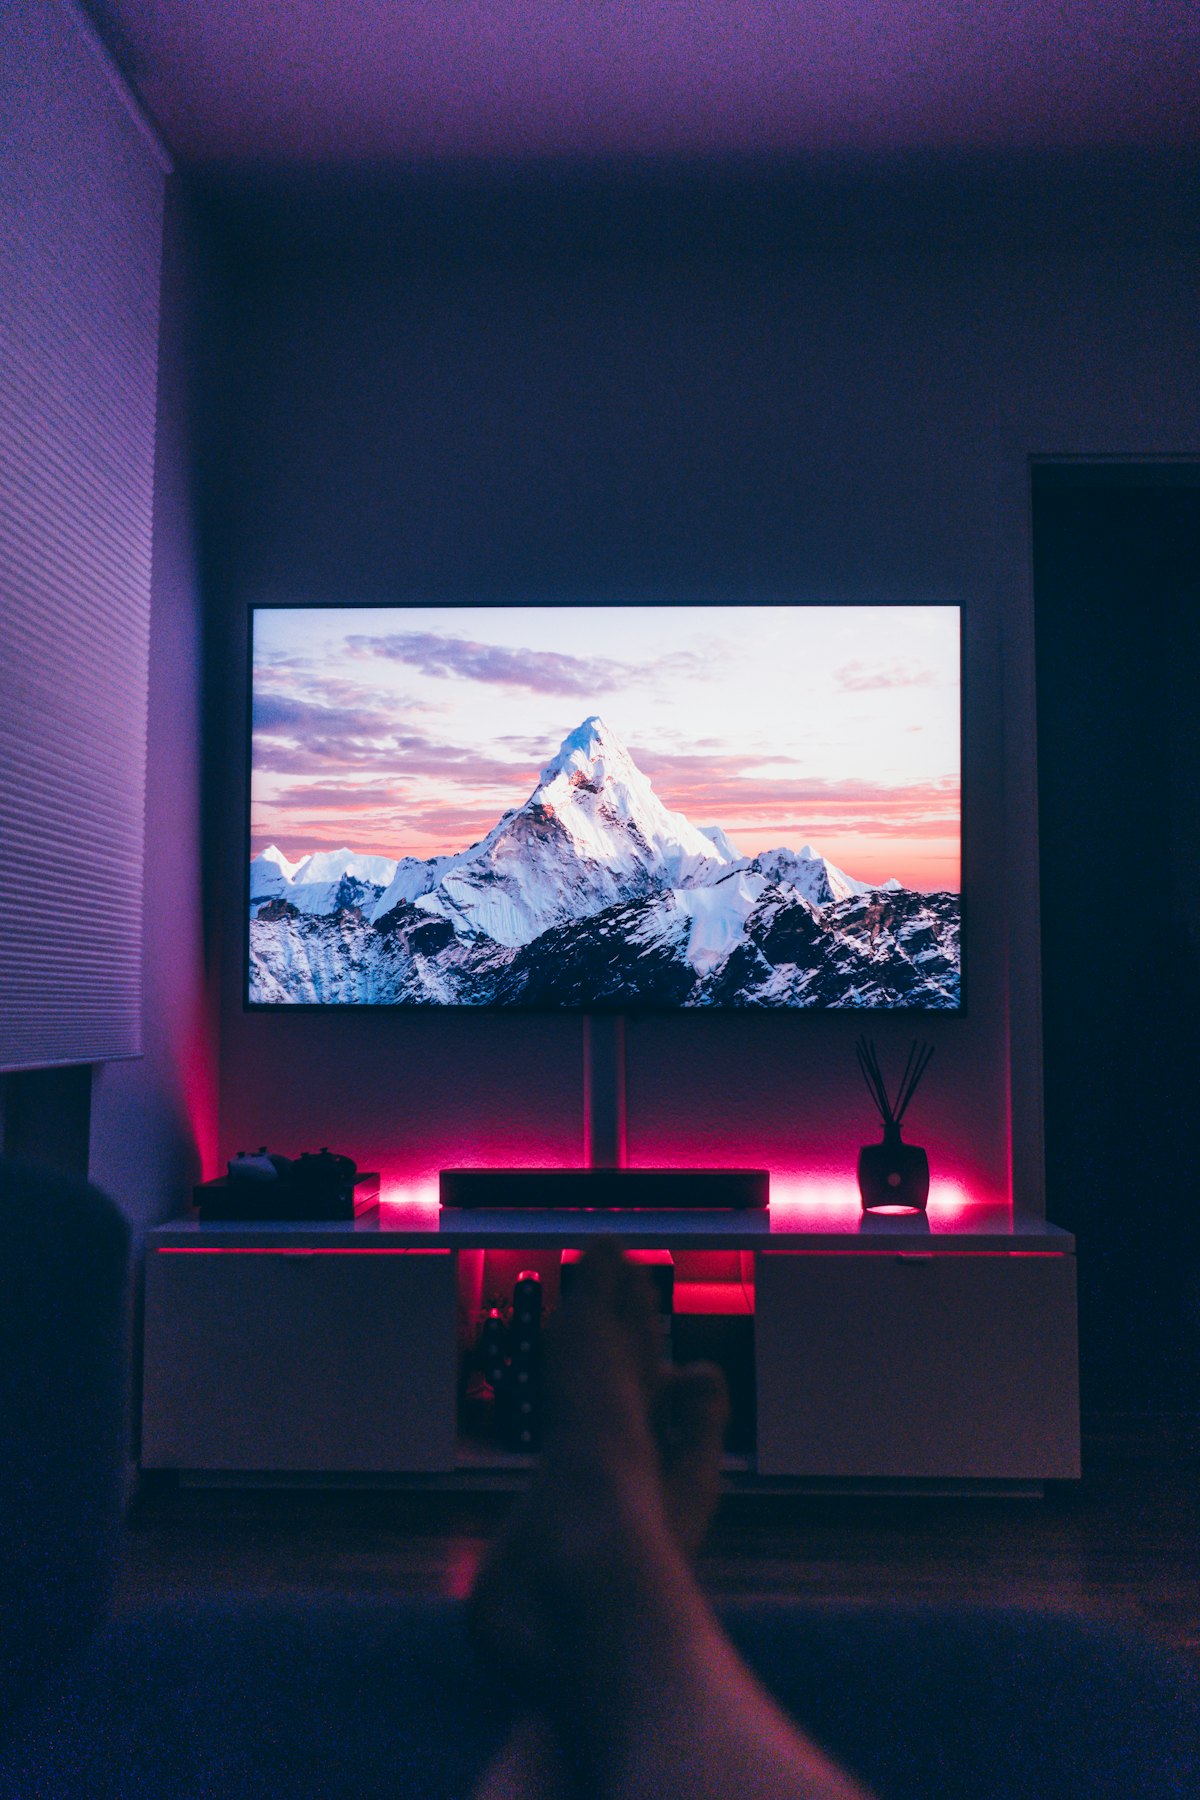
A little environmental control does more for perceived picture quality than most menu settings. A bias lighting LED strip stuck behind the TV (around $15–25) raises the ambient light just enough to make blacks look deeper and reduce eye strain, without washing out the screen. Kill lamps that reflect directly off the panel, and close the blinds for movie night.
Finally, remember that the panel can only show what you feed it. A cheap low-bitrate streaming tier will look mediocre on any TV, while a high-quality 4K stream or Blu-ray lets the hardware show what it can actually do.
The 5-minute fix, in order
- Switch the picture mode to Filmmaker, Movie, or Cinema
- Turn off motion smoothing (or set it low for sports only)
- Set sharpness to 0–10 and color temperature to Warm
- Enable the full-bandwidth HDMI mode on ports feeding 4K HDR devices
- Add bias lighting and remove direct glare sources
Quick FAQ
Is my TV broken because it looks dimmer than in the store? No. It’s almost certainly the picture mode and your room lighting. Accurate modes look dimmer by design; your eyes adjust within days.
Should I pay for professional calibration? For most people, no. Filmmaker or Movie mode gets you roughly 90% of the way there for free. Calibration makes sense for high-end home theaters and enthusiasts chasing the last few percent.
Why does Filmmaker Mode look yellowish? That warm tint is the D65 industry standard used to master virtually all movies and shows. The “clean” blue-white you’re used to is the distortion, not the other way around.
Deixe um comentário